
Let’s dye our hair! Let’s learn how to do at home balayage! Or DIY ombre hair! Whatever! It’ll be fun!
The last time I did something new with my hair was months ago, when I cut it short because I was watching too much “The Good Wife” and needed some power hair in my life. Itching to switch things up, especially since my new glasses arrived, I bought a mixing bowl, brush, and two boxes of a highlighting kit. This was the most recommended kit, after watching 412 videos on DIY ombre hair.
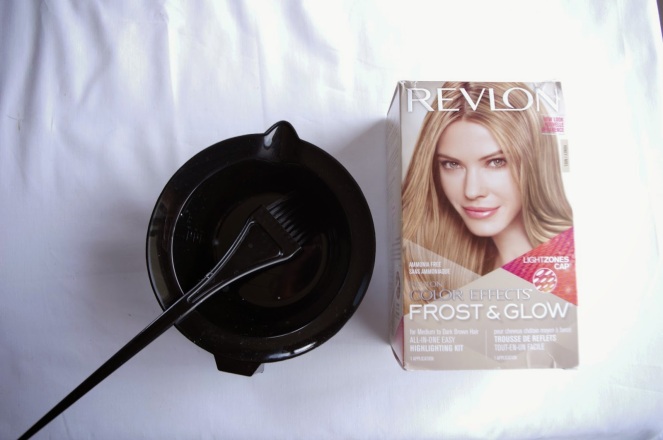
This is the first time I have ever dyed/bleached my hair, so it was a bit frightening. There are about a bajillion YouTube videos on how to use a highlighting kit to ombre your hair, but here’s a quick explanation. Instead of using the highlighting cap that comes in the kit, you section your hair into bottom – middle – top sections.
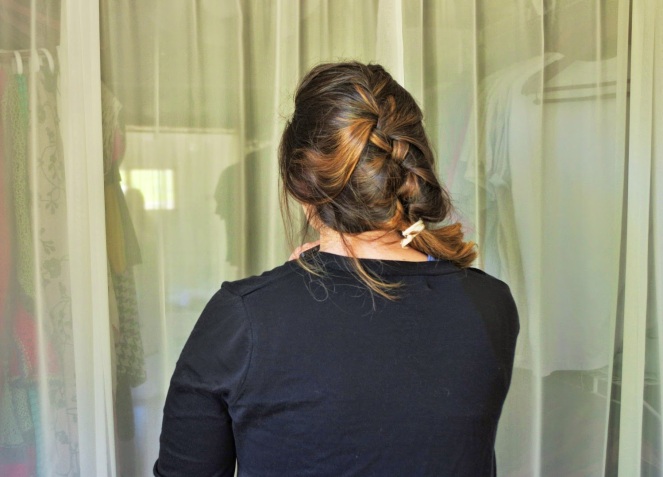
Start at the bottom. Divide your hair into small sections, maybe 1-inch wide, at the most. Paint the bleach about 1.5 inches upward onto one section, then skip the next, and so on until the bottom section is done. Do the same on the middle section, but paint the bleach higher onto the hair – maybe 3 inches. For the top, paint even higher. Bleaching some hair and leaving some unbleached makes everything blend nicely and gives lots of dimension.
Make sure to concentrate most of the bleach on the ends and avoid the top of your head altogether. Wrapping each bleached section in foil is optional, but I did.
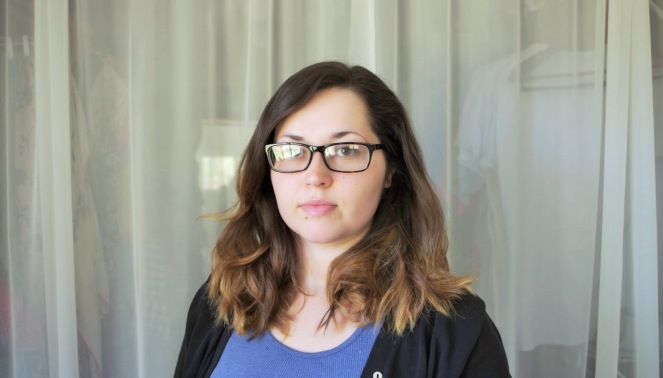


But I love the hair. I’ve been toning it with purple shampoo and it’s getting nice and light for the summer. With the new hair and different glasses, I finally have a totally different look after about, oh, ten years of the same.
It’s all the fun of being blonde(ish) without actually having to go in and have your roots done. Lazy girl hair.
See you later!

What a fun summer look. Enjoy!