
On Monday we had the first part of the TtV tutorial, and now we can get to the fun part – taking pictures!

Once you are armed with two cameras and the tube to connect them, the rest is self-explanatory.

Balance the vintage camera (a knee works but is a pain) and make sure the viewfinder is clearly visible through the tube. Then set your digital camera on top of the tube.
Ideally, one would use a DSLR for this. I have a large point-and-shoot and it works just fine, but with a DSLR you can probably zoom in closer to the viewfinder and manually focus it to shoot through it. With a point-and-shoot you can only get so close with the zoom before it decides to focus on the viewfinder instead of through it. In my experience, anyway.
So. Take a picture!
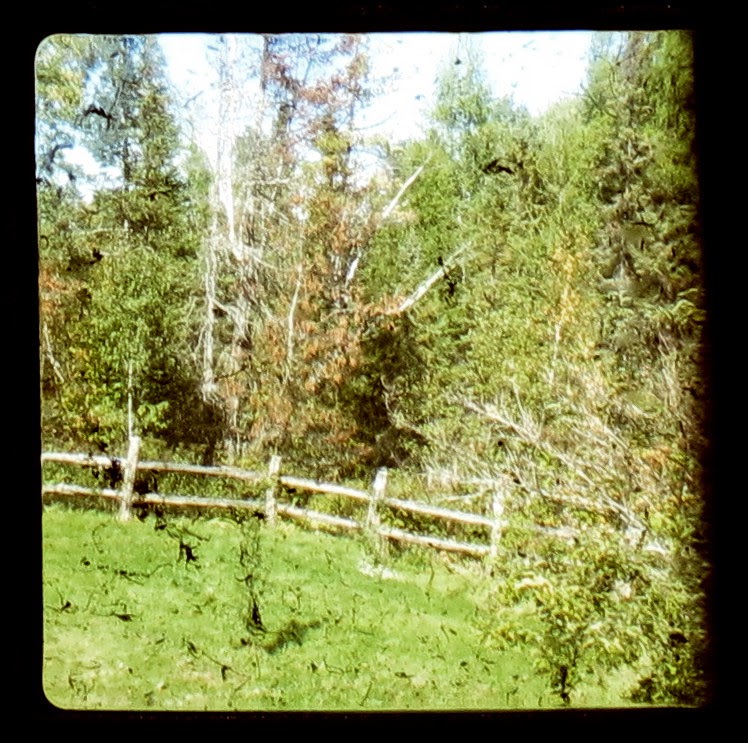
It may turn out like this:

First, DO NOT RESIZE!! If your camera is like mine and can’t zoom in as far as you’d like, don’t resize the image before editing, or it will end up teeny-tiny.
My TtV images need to be straightened, the actual image is usually crooked. I use GIMP for image editing, and using the rotate tool is easy-peasy.


Then it can be cropped, and any filters or effects applied.


I love these. Seriously.
Once you get the hang of taking TtV pictures you can modify the tube if you want – some people make a tube/sleeve large enough for the vintage camera to fit into. That way you aren’t balancing everything, it’s all in one big sleeve. Or you can be like me and carry around two cameras and a cardboard tube covered in electrical tape.
The choice is yours.
Have fun!
